You know how the worst part about making Rice Krispie treats is cleaning the pot afterwards? Well, I came across this Facebook hack for making it all in one pan. The creator uses a 9×13 pan and puts it directly in the oven with all the ingredients layered. I don’t see why this wouldn’t work but I am very intrigued by the concept. The previous hacks we have tried for rice krispie treats have included adding more steps to the quick dessert so the idea of making the process even simpler is new and exciting, let’s jump in and see how it goes.

To start out, I will say that the recipe this post provided for Rice Krispies is very different from the one on the box. However, I have found that the one on the box is not the best, so I’m hoping this recipe is better. To start the recipe, you need six tablespoons of butter divided into six chunks placed evenly into the bottom of the 9×13 pan. Then, since the recipe includes vanilla, you’ll want to pour a teaspoon of vanilla over the butter. However, I measured this with my heart. I have never truly measured vanilla and I never will.

Next you are going to add the marshmallows. I did not realize that the recipe called for 16 ounces of marshmallows. If you’re using the small marshmallows, this is about 1 and 1/2 bags. Visually, this looks like a lot of marshmallows. Finally, the recipe has you top the marshmallows with six cups of Rice Krispies. This is the standard amount for the box recipe but this recipe says when it’s all done and baked, if everything is too wet you can even add more rice krispies. At this point my pan is full to the brim and I do not foresee how I will be able to stir it in the future.


Now you don’t mix or do anything else. Just put the pan directly into the oven at 350° for 15 to 20 minutes. In the hack video, it looks like the Rice Krispies on top have the chance to get a little toasty and provide a toasted flavor. I’m excited to see if that’s the case. It also seems like this recipe is going to provide much thicker, taller Rice Krispies than I am used to seeing in my 9×13 pan. Most Rice Krispie treat recipes usually go up to about halfway in this pan. Of course the marshmallows will melt down and there will be some additional space so we will see how it comes out in the end.

After 15 minutes I checked on the rice krispie treats and it looked the exact same as it did before it went in. The recipe says they are done when the pan has a bit of a jiggle to it. At 20 minutes I think there was a jiggle. However the marshmallows had puffed up so much that the Rice Krispies were spilling out all over the bottom of my oven so I would suggest that if you filled your pan like I did that you put it on a sheet pan to catch any runaways. I was also a bit disappointed to find that the Rice Krispies had not toasted at all.

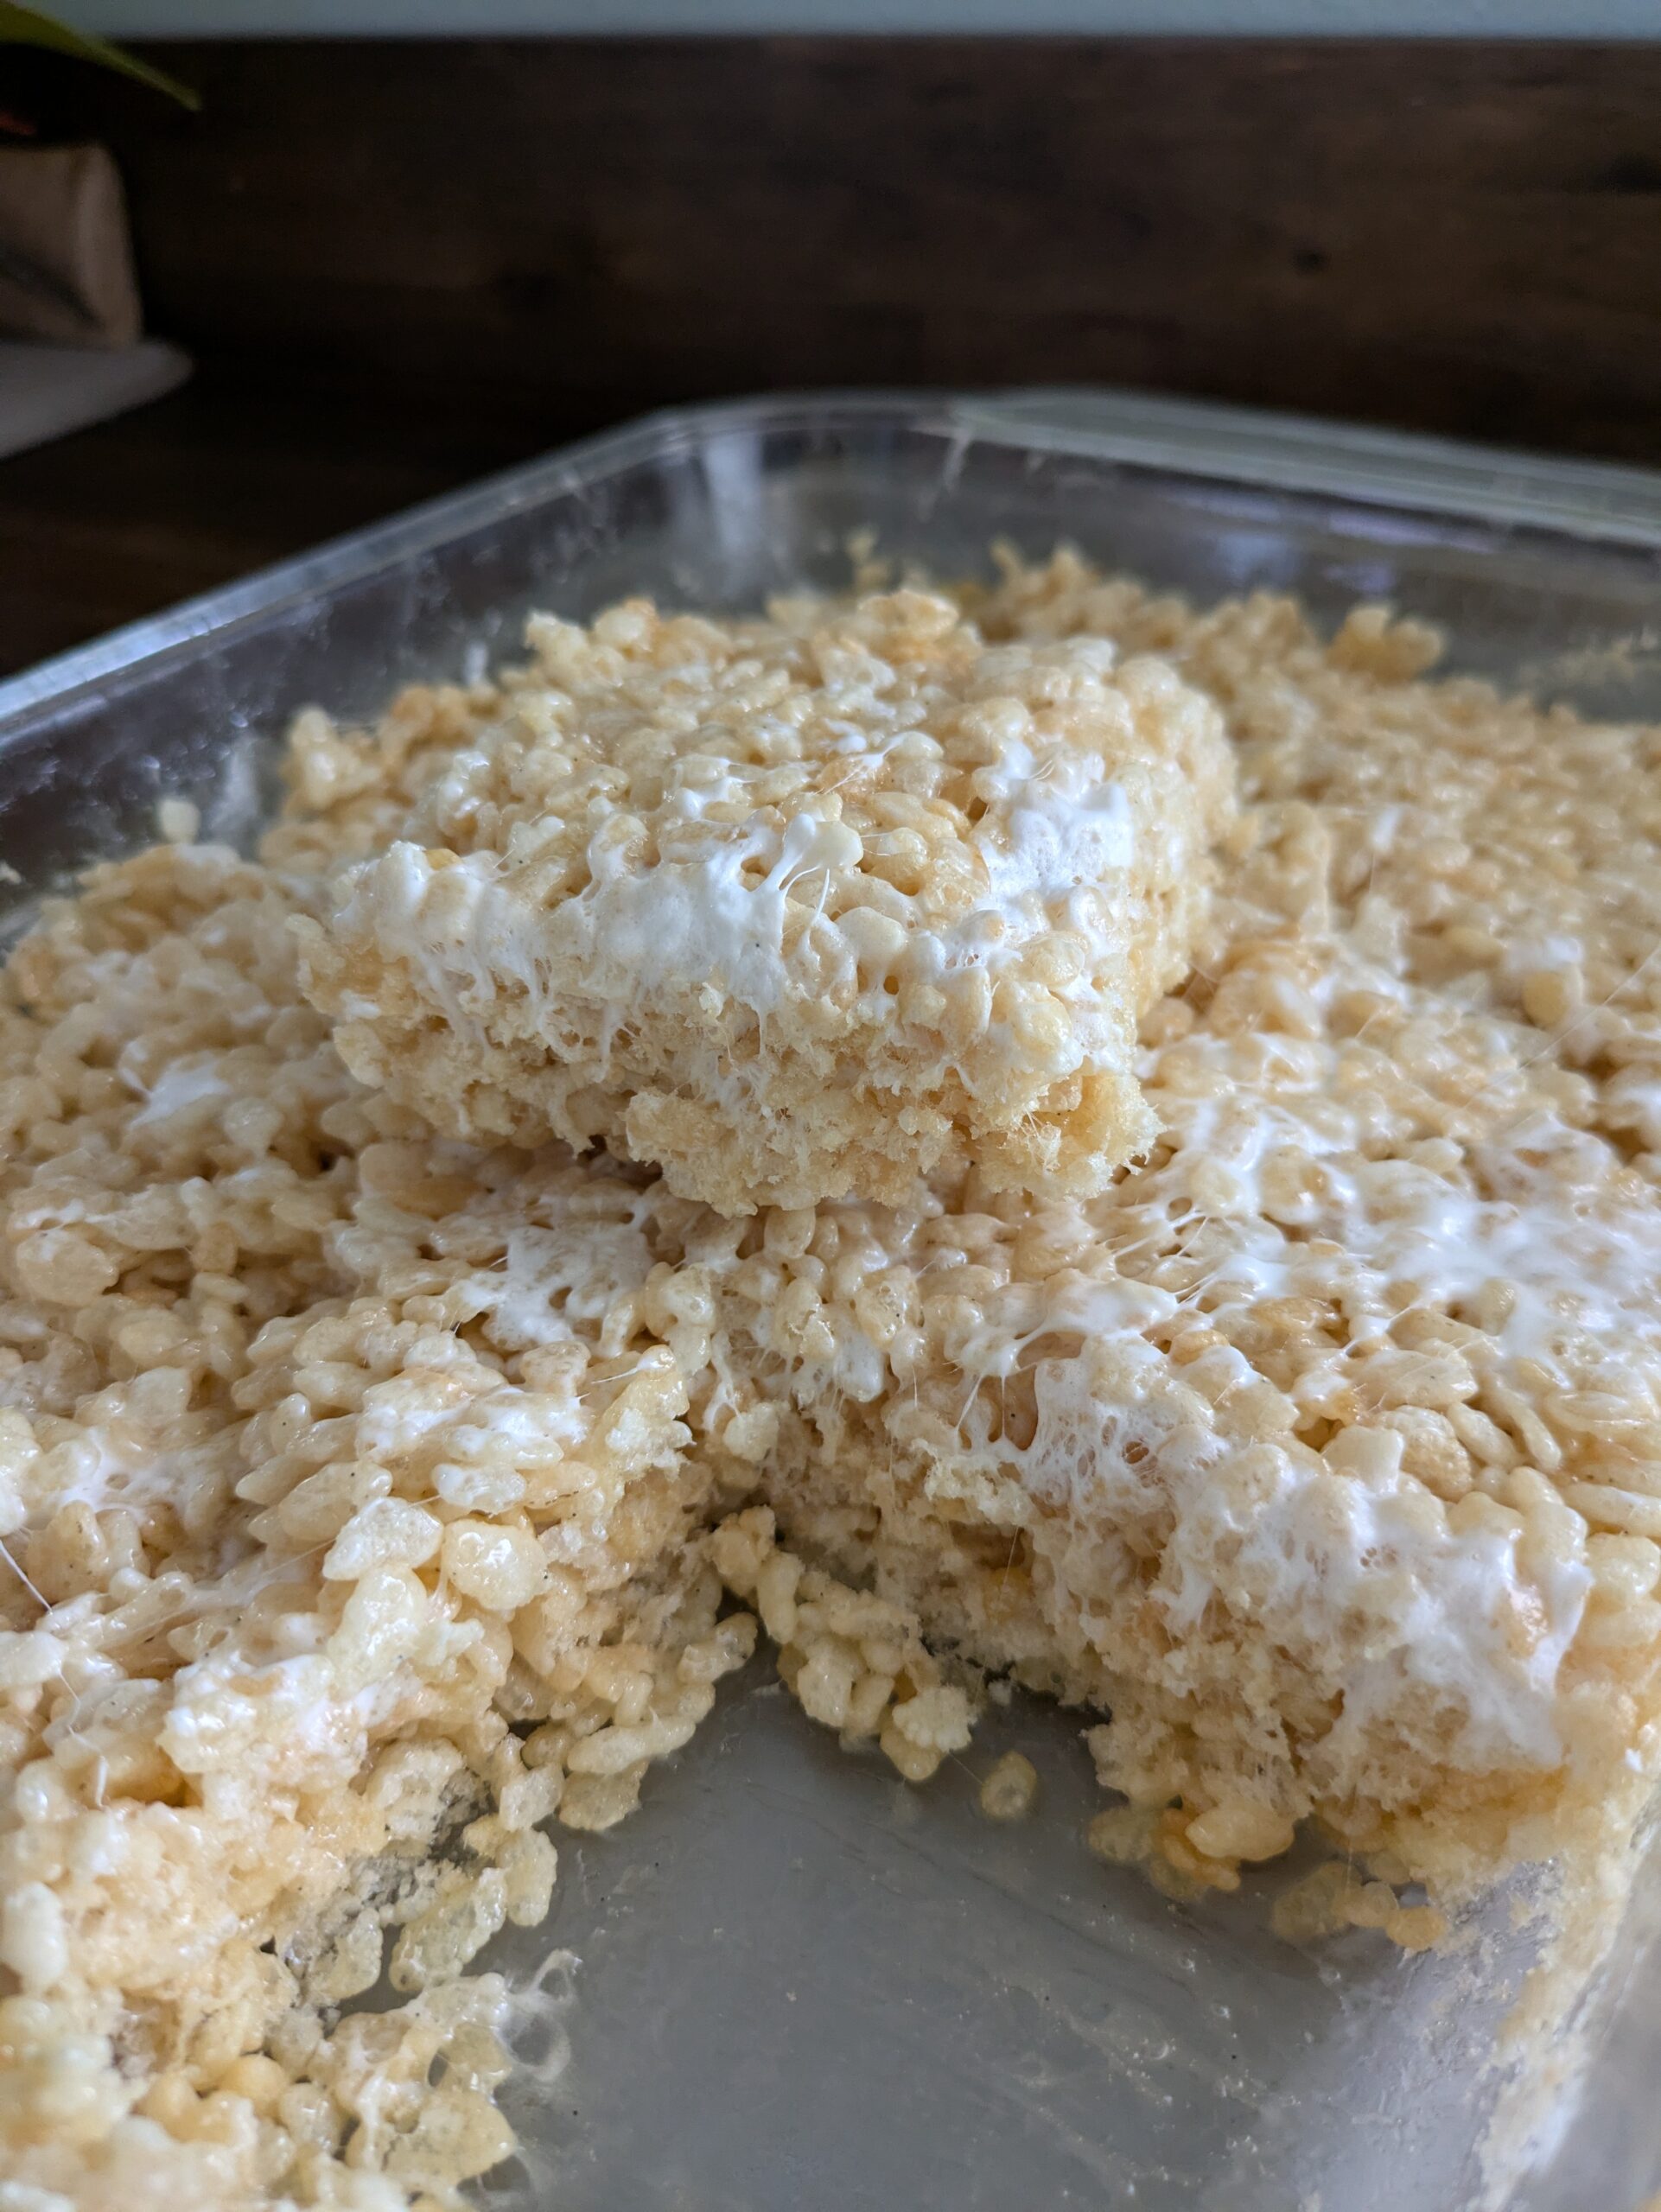
Next, I took a rubber spatula and sprayed it with cooking spray like the video suggested and I started mixing the Rice krispie treat mixture. There is a lot of butter in this recipe, double what the recipe on the cereal box calls for and so it was very wet and very buttery. The recipe did say if it is seems too wet you can add more Rice Krispies so I did add some more and it seemed to help a lot. I also mixed in some of the mini marshmallows I had left and they melted just a little bit and at this point the mixture looked perfect. I flattened the mixture so that it would be easier to cut out later and then I let it cool to solidify.

It was at this point I realized the recipe did not specify to spray the pan with baking spray and I did not catch this in time to make the adjustment. As I tried removing the rice krispie treats I learned this was a big mistake, everything was pretty stuck. Once I fought my way through getting these out of the pan, I gave it a try. While this definitely worked, this method will not be my go to. I think in the event that you only have access to an oven, not a stove top, it makes sense, however I don’t see why you couldn’t also scale this down and make it in a microwave. The issue with this recipe is that the rice krispie cereal got stale in the oven and despite a lot of mixing, there were still some parts, especially the bottoms, that were visibly just butter and vanilla soaked, no marshmallow to be seen. The traditional stovetop method requires you melt the butter and the marshmallows into one and once it is a combined mixture, then you add in the cereal. This recipe has opened my eyes to realizing how crucial this step is. So in a pinch, yes this hack works, but it is not worth avoiding washing one pot.

Leave a Reply